If you’ve ever made Steven’s 3-2-1 Ribs, then you are familiar with an extremely useful cooking technique called braising. It rhymes with the word “raising,” and refers to a method used by some of the world’s most celebrated chefs to magically transform tougher, cheaper cuts of meat into something ethereal. (It works with dense vegetables, too!)
If you’re a cost-conscious griller, braising is a trick you’ll want to add to your repertoire.
I was unfamiliar with the term until I attended professional cooking schools. (Steven and I are both graduates of culinary schools. Although he attended a much more prestigious one than I did. Paying tuition to learn how to cook at that time was almost unheard of. This was before the Food Network, of course.)
But we recognized the usefulness of braising almost immediately.
If you’re unfamiliar with it, braising is a term that describes searing meat before cooking it slowly at a relatively low temperature—tightly covered—in a small amount of liquid. Most people assume this is a technique that is employed in indoor ovens. Like pot roast.
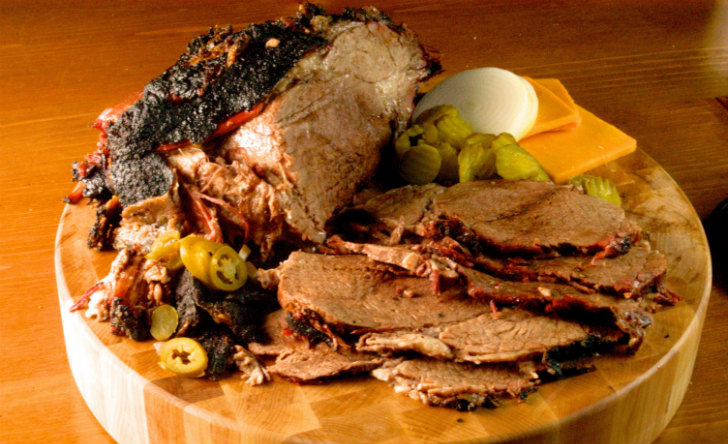
But the truth is, you can sear a protein on a smoky grill, then transfer it to a disposable aluminum pan covered tightly with foil. Or you can enclose the meat—such as the ribs mentioned above—entirely in foil. The effect will be the same—tender, succulent meat. It’s a perfect trick to use with pork ribs, pork shoulder, beef ribs, beef shoulder clod, lamb leg or shoulder, and dense vegetables like onions or carrots. Recipes like these are especially well-suited to pellet grills, which can be calibrated to a certain temperature (like an oven). But any grill that can be set to a relatively low temperature—about 250 to 275 degrees—can be used.
Any flavorful liquid will do. It should come up about a third of the way up the meat or vegetable. The unimaginative will use water. We prefer broth, cola, beer, fruit juice, etc. (Always add flavor when you can!)
The whole process is spectacularly simple, and so, so flavorful. Here’s one of my favorite recipes—one so easy I cannot call it a recipe with a straight face. Perfect for a weeknight meal.
Learn How to Braise
Season two thick-ish pork shoulder steaks (bone-in) with your favorite barbecue rub. (I love Steven’s). Brush or scrape your grill grate clean and oil it with vegetable oil. Set it up for direct grilling. Sear the pork steaks on both sides, then transfer to a disposable aluminum foil pan. Reduce the heat of the grill to 275 degrees. Pour most of a can of cola (Dr. Pepper or Pepsi is usually in my house, but use whatever you have on hand) into the bottom of the pan. Peel and thinly slice a large onion (optional); arrange on top of the steaks. Cover tightly with foil.
Using a grill hoe or a similar tool, move the coals into two opposite piles or set up your grill for indirect grilling. Place the pan with the pork steaks away from direct heat. Cook until the meat is tender—2 to 2-1/2 hours. Let the meat rest, then carefully remove the foil. (The steam will be hot.) Serve with your favorite sides—mac ‘n’ cheese, mashed potatoes, coleslaw, or baked beans. The pork will take just a few minutes of your time, and is flexible, timewise, if you don’t know when to expect your guest(s).
Are you ready to start braising? Let us know on Facebook, Twitter, Reddit, or Instagram!
The post Learn How to Braise, for Tender (And Cheap!) Grilled Meat appeared first on Barbecuebible.com.
------------------------------------------------
By: Daniel Hale
Title: Learn How to Braise, for Tender (And Cheap!) Grilled Meat
Sourced From: barbecuebible.com/2022/07/26/learn-how-to-braise-for-tender-grilled-meat/
Published Date: Tue, 26 Jul 2022 17:54:21 +0000
Did you miss our previous article...
https://smokergrillreviews.com/grilling-favorites/carne-asada-crunch-wrap